Install TensorFlow-GPU by Anaconda (conda install tensorflow-gpu)
It might be the simplest way to install Tensorflow or Tensorflow-GPU by conda install in the conda environment
Nowadays, there are many tutorials that instruct how to install tensorflow or tensorflow-gpu. However, some people may feel it too complex just like me, because in those ways, you should download and install NVIDIA drivers, and then download and install CUDA (users need to pay attention to the version), afterwards you may sign an agreement and download cuDNN in NVIDIA Developer. Next, install python, and pip install tensorflow-gpu and so on. It’s not esay for developer to do these, let alone it might causes some other error such as version not match, or conflict between other python libraries and so on. Moreover, if you want to install tensorflow by compilation, it may take much more time.
Thus I strongly reconmend you not to do this, there’s a much easier way to install this. Please read the following article.
Install Anaconda
Anaconda is a free and open-source distribution of the Python and R programming languages for scientific computing, that aims to simplify package management and deployment.
You can download anaconda here.
One of the advantage of anaconda is that it can create isolated environment in your device, and you can configure any libraries and toolkits in the ‘env’ without affect other environment. Once you are nor satisfied of your configuration, you can simplily delete the environment.
After downloading this successfully, try to run the installation file. For example, if you use ubuntu, you can cd to the path of the sh file and run the following command:
./Anaconda3-5.3.1-Linux-x86_64.sh
Attention that you should change the command above to your own installation file name.
Then you will successfully install Anaconda!
Create new environment by conda
If you are unwilling to create conda environment (maybe because of lazy), you can skip this section. However, I strongly reconmend you to create this for the convience in the future.
Run the command below:
conda create -n tf
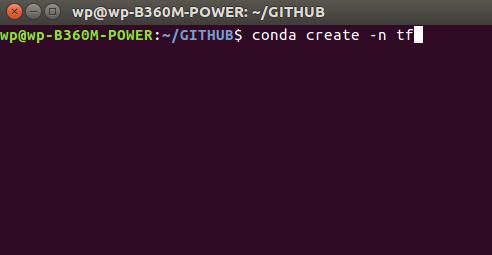
‘tf’ is the name of your new conda environment, you can try other names as your own interest.
For other management you conda env, you can read this.
Install Tensorflow
First, you need to change to the env you have just built by conda:
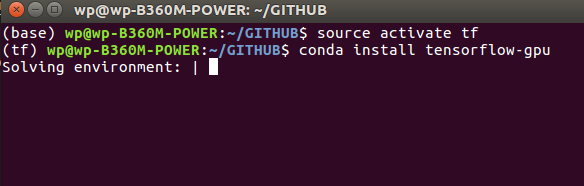
source activete tf

Afterwards, type in the command to install TensorFlow you need:
conda install tensorflow-gpu
If you want to install a specific version of tensorflow-gpu or cpu veison, you can change the command like this:
conda install tensorflow-gpu=1.10.0  #if you want to install 1.10.0 version
conda install tensorflow  #if you want to install cpu version
After anaconda solve the environment, you just need to type in ‘y’ to confirm the installation.
Anaconda will automatically install other libs and toolkits needed by tensorflow(e.g. CUDA, and cuDNN), so you have no need to worry about this.
Type in python to enter the python environment.
import tensorflow as tf
tf.__version__
When you see the version of tensorflow, such as 1.10.0, you have successfully install it.
That’s all, Thank you.
If you encounter any problems, you can open an issue in the Comment area.