前言
这是目前为止最简单的搭建个人网站的方法。效果如下,点击王沛的主页访问:

Github Pages的出现,使得搭建个人静态网站变得更加容易,省去了租用服务器的麻烦,事实上,Github给用户提供了免费的服务器。本文就是基于Github Pages建立的个人网站。
jekyll是一种将纯文本转换成静态网站的工具(软件),它的使用方法再官网上有详细介绍,本文将介绍基本配置方法,省去了其他教程里的繁琐的安装过程。
准备
- 首先,要使用Github Pages,需要一个Github帐号,点击这里或访问github主页注册帐号:
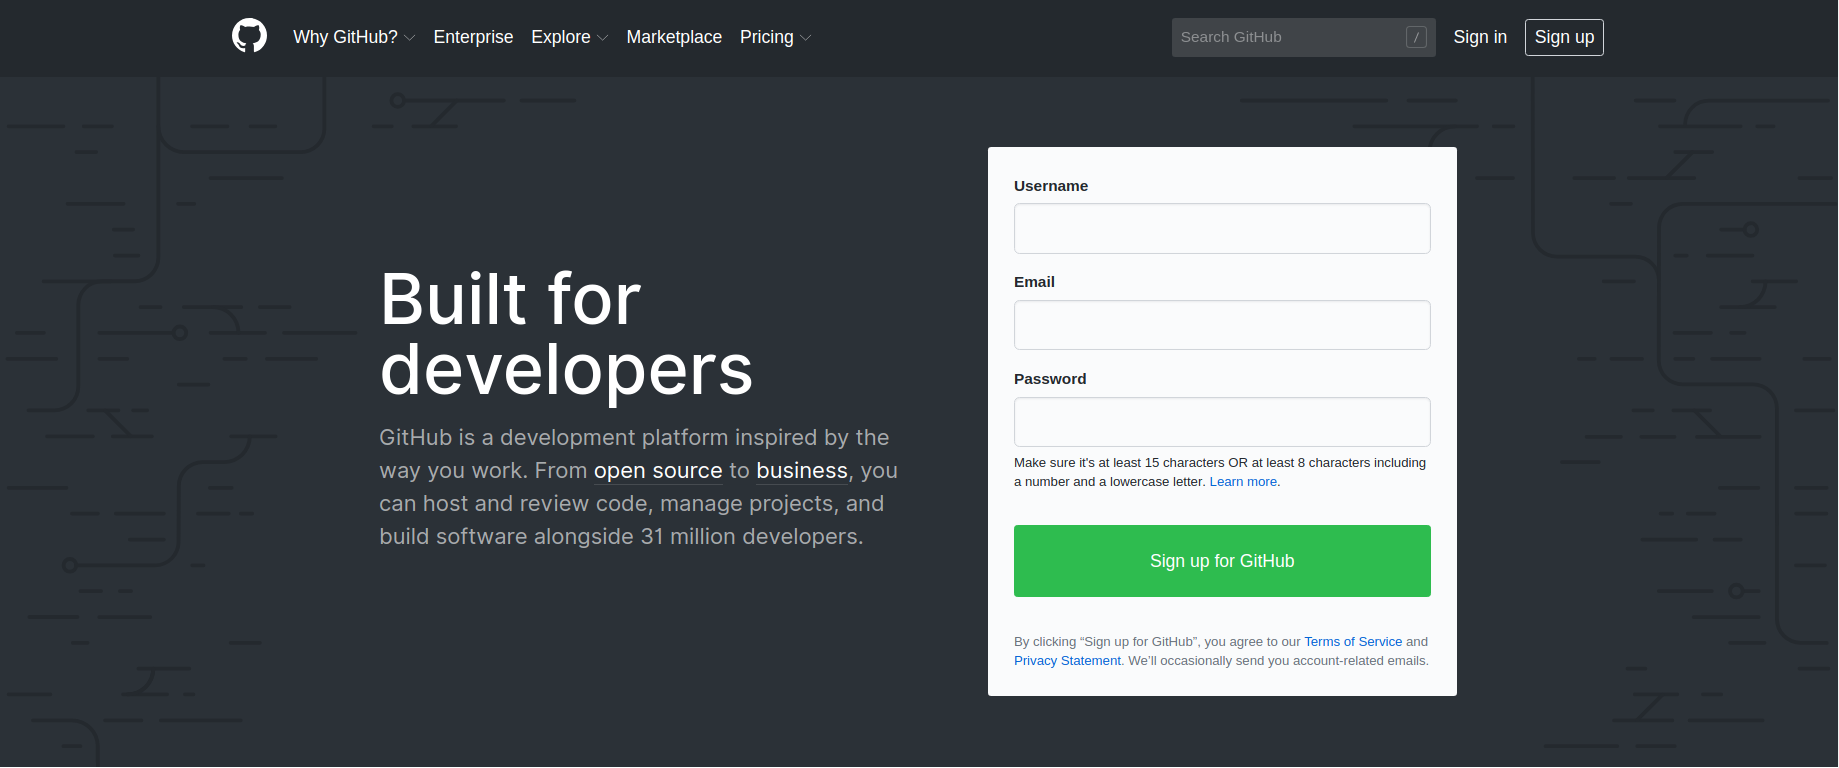
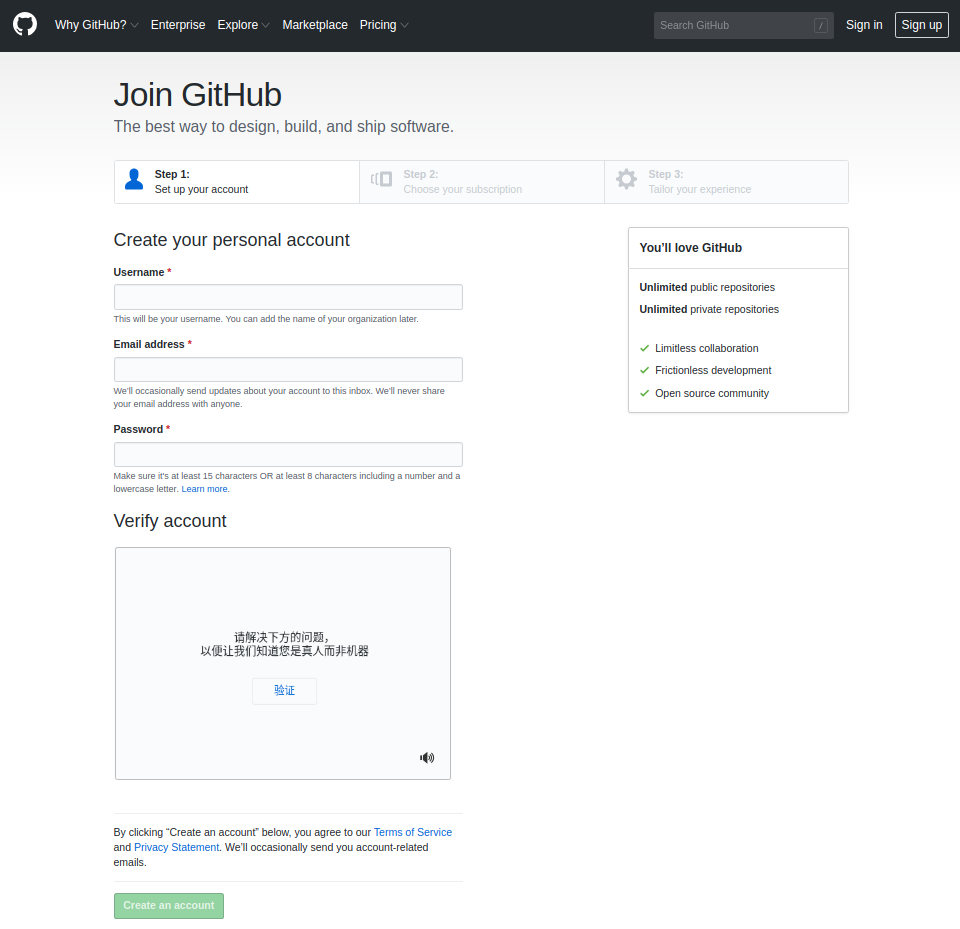
- 填好相关信息后,点击“create an account”完成帐号注册。已有帐号的,跳过该步骤
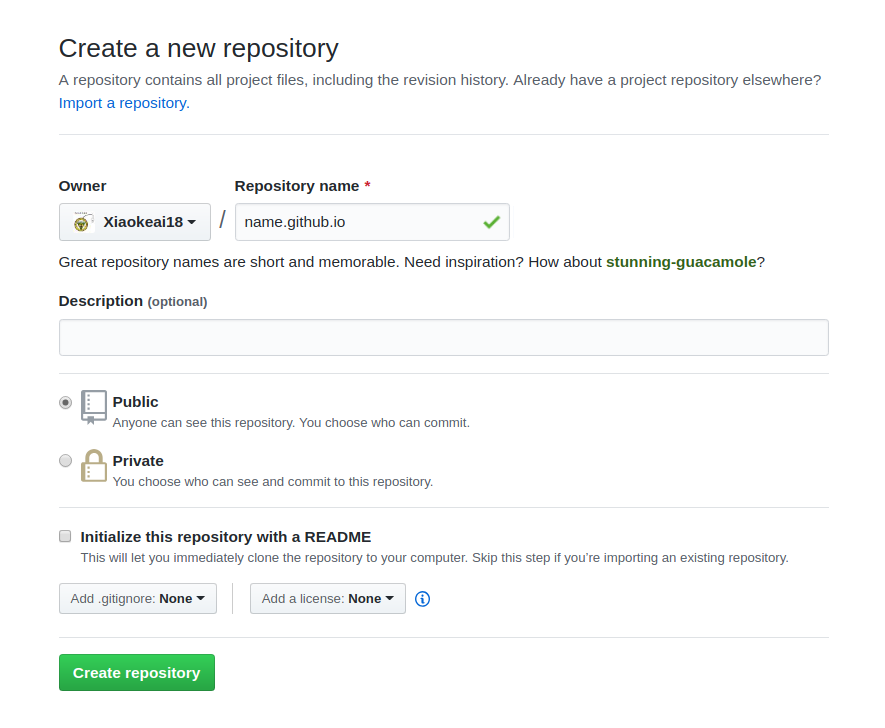
- create一个新的repository,命名为 your-id-name.github.io
GitHub是一个面向开源及私有软件项目的托管平台,repository也就是github的仓库,是用户用来存放代码的地方。
- 如图,登录后,点击右上角+号,选择new repostory

- 在repostory name中填入仓库名,格式为“你的ID.github.io”,然后点击下方的 Create repostory。
- 创建好仓库之后,进入刚创建的仓库,点击如图右下角的uploadfiles:
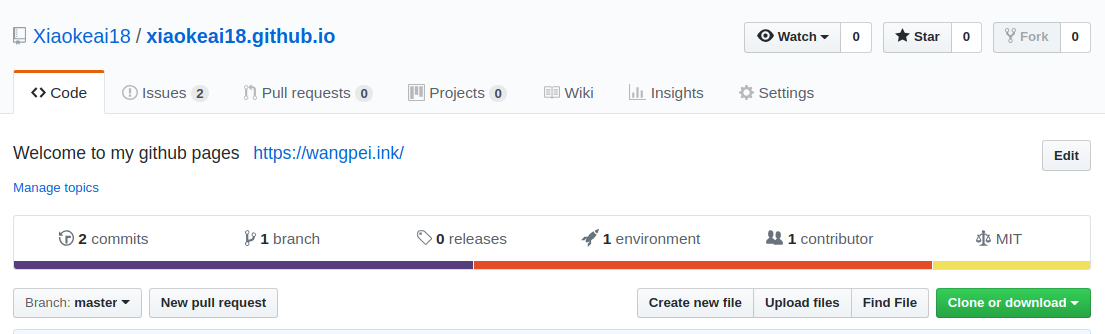
- 在这里下载压缩包,把压缩包解压之后,把里面的所有文件,全部上传到上一步里满的仓库里。
注意,要下载最新版的压缩包,名字为jekyll_blog.tar或者jekyll_blog.zip,Linux用户下载tar版本,windows用户下载zip版本。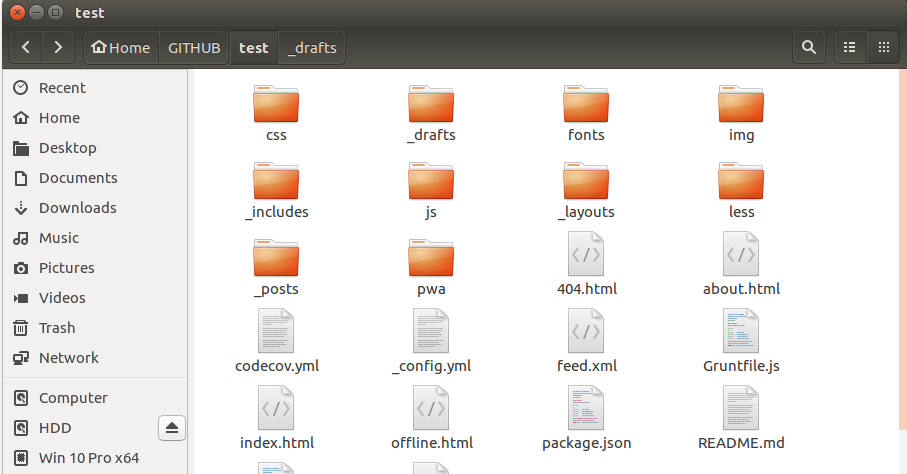
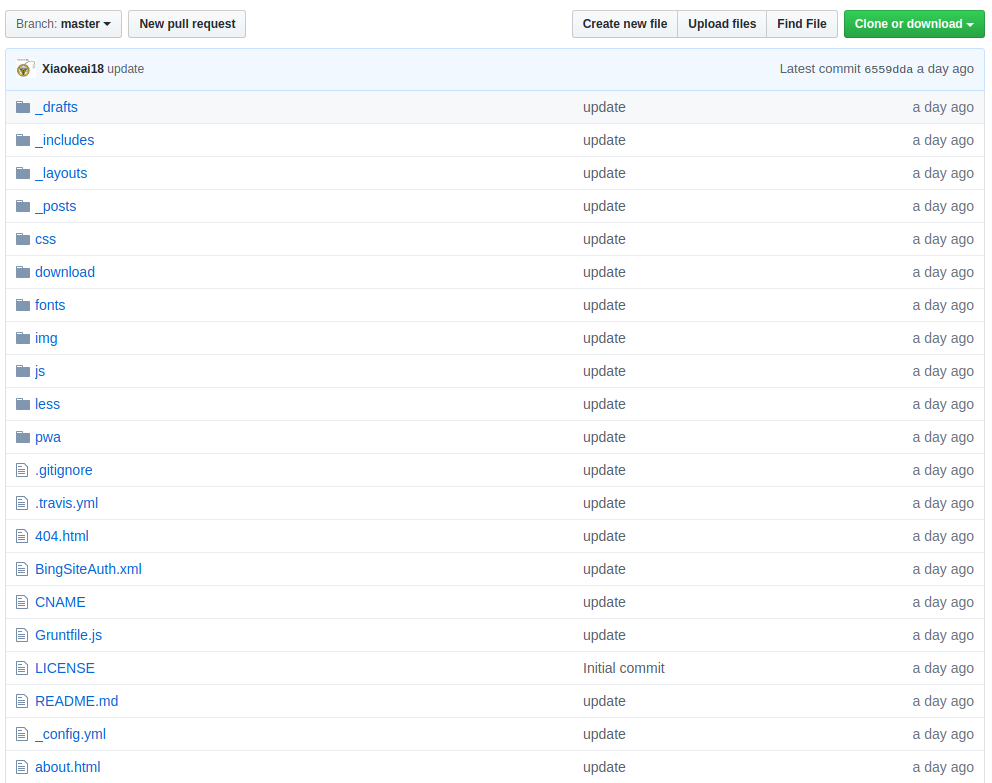
- 上传完成后,结果应该如图所示:
- 如图,登录后,点击右上角+号,选择new repostory
配置
- 上传完成后,在仓库的根目录里找到‘_config.yml’这个文件,打开准备编辑。
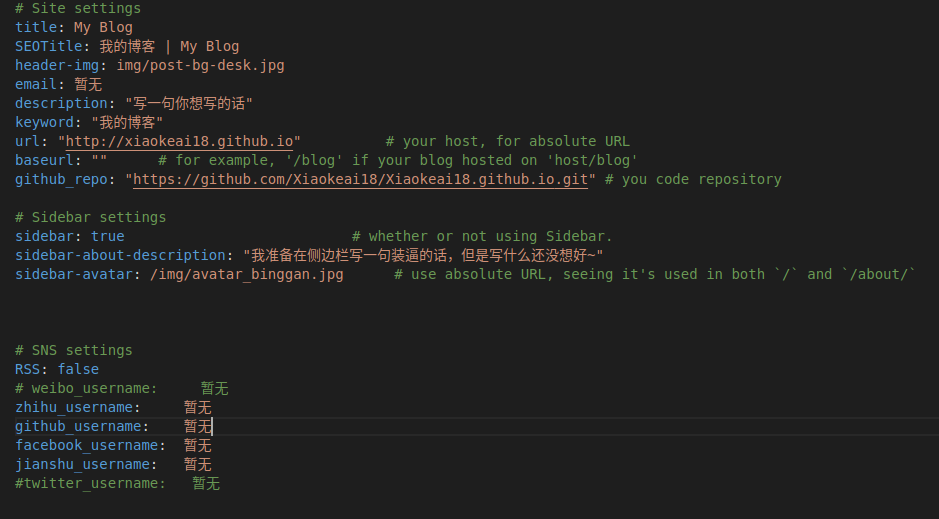
注意改一下几点:把’url‘后面的内容和‘github_repo’后面的内容全部用你的github ID替换# Site settings title: My Blog SEOTitle: 我的博客 | My Blog header-img: img/post-bg-desk.jpg email: 暂无 description: "写一句你想写的话" keyword: "我的博客" url: "http://name.github.io" # name改成你的ID baseurl: "" # for example, '/blog' if your blog hosted on 'host/blog' github_repo: "https://github.com/name/name.github.io.git" # 用你的ID替换name # Sidebar settings sidebar: true # whether or not using Sidebar. sidebar-about-description: "苟利国家生死以,岂因祸福避趋之~" sidebar-avatar: /img/avatar_binggan.jpg # use absolute URL, seeing it's used in both `/` and `/about/` # SNS settings RSS: false # weibo_username: 暂无 zhihu_username: 暂无 github_username: 暂无 facebook_username: 暂无 jianshu_username: 暂无 #twitter_username: 暂无如图,修改完成后,点击最下面Commit changes确认修改:
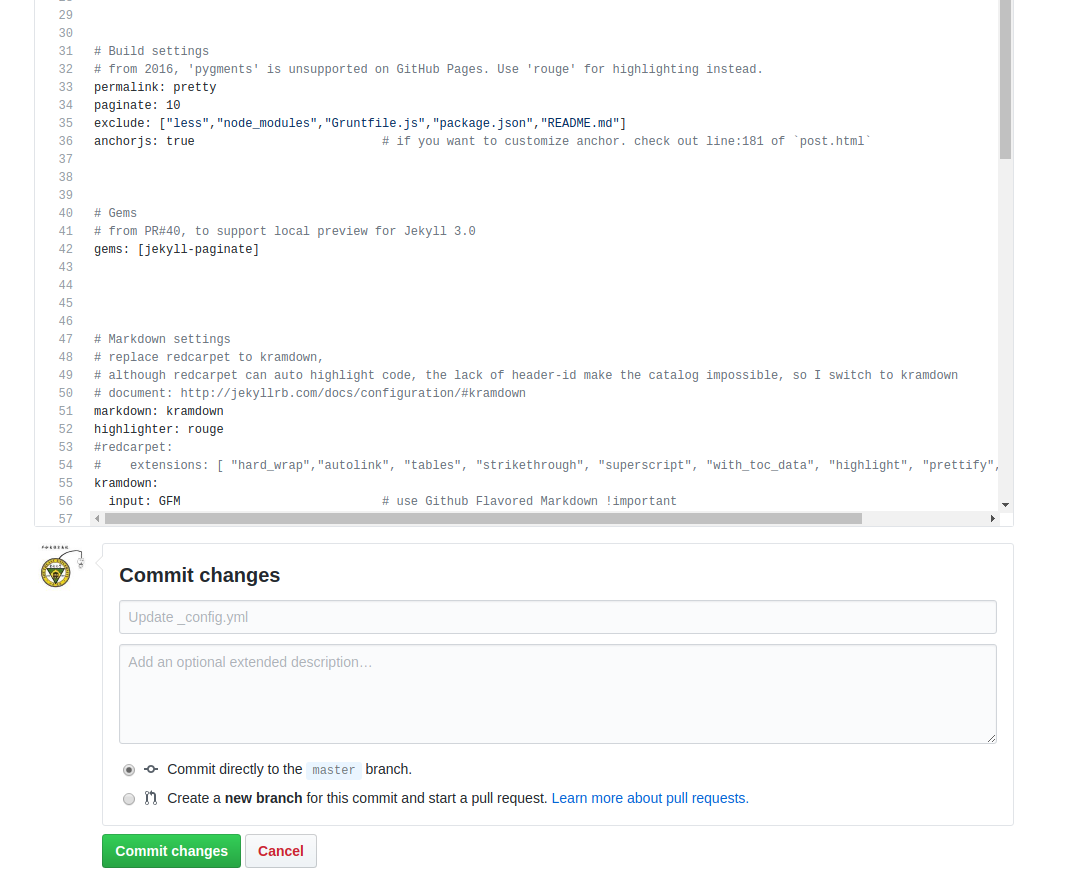
- _config.yml是jekyll的核心配置,文件中还有其他更改的地方,大多都写了注释。完成以上步骤后,过一会儿,就可以在浏览器中输入你的域名: “你的ID.github.io” 尝试访问了。
发博客
所有博客文章都放在’_post’文件夹内,文章以MarkDown形式编写。
具体等待后续更新。